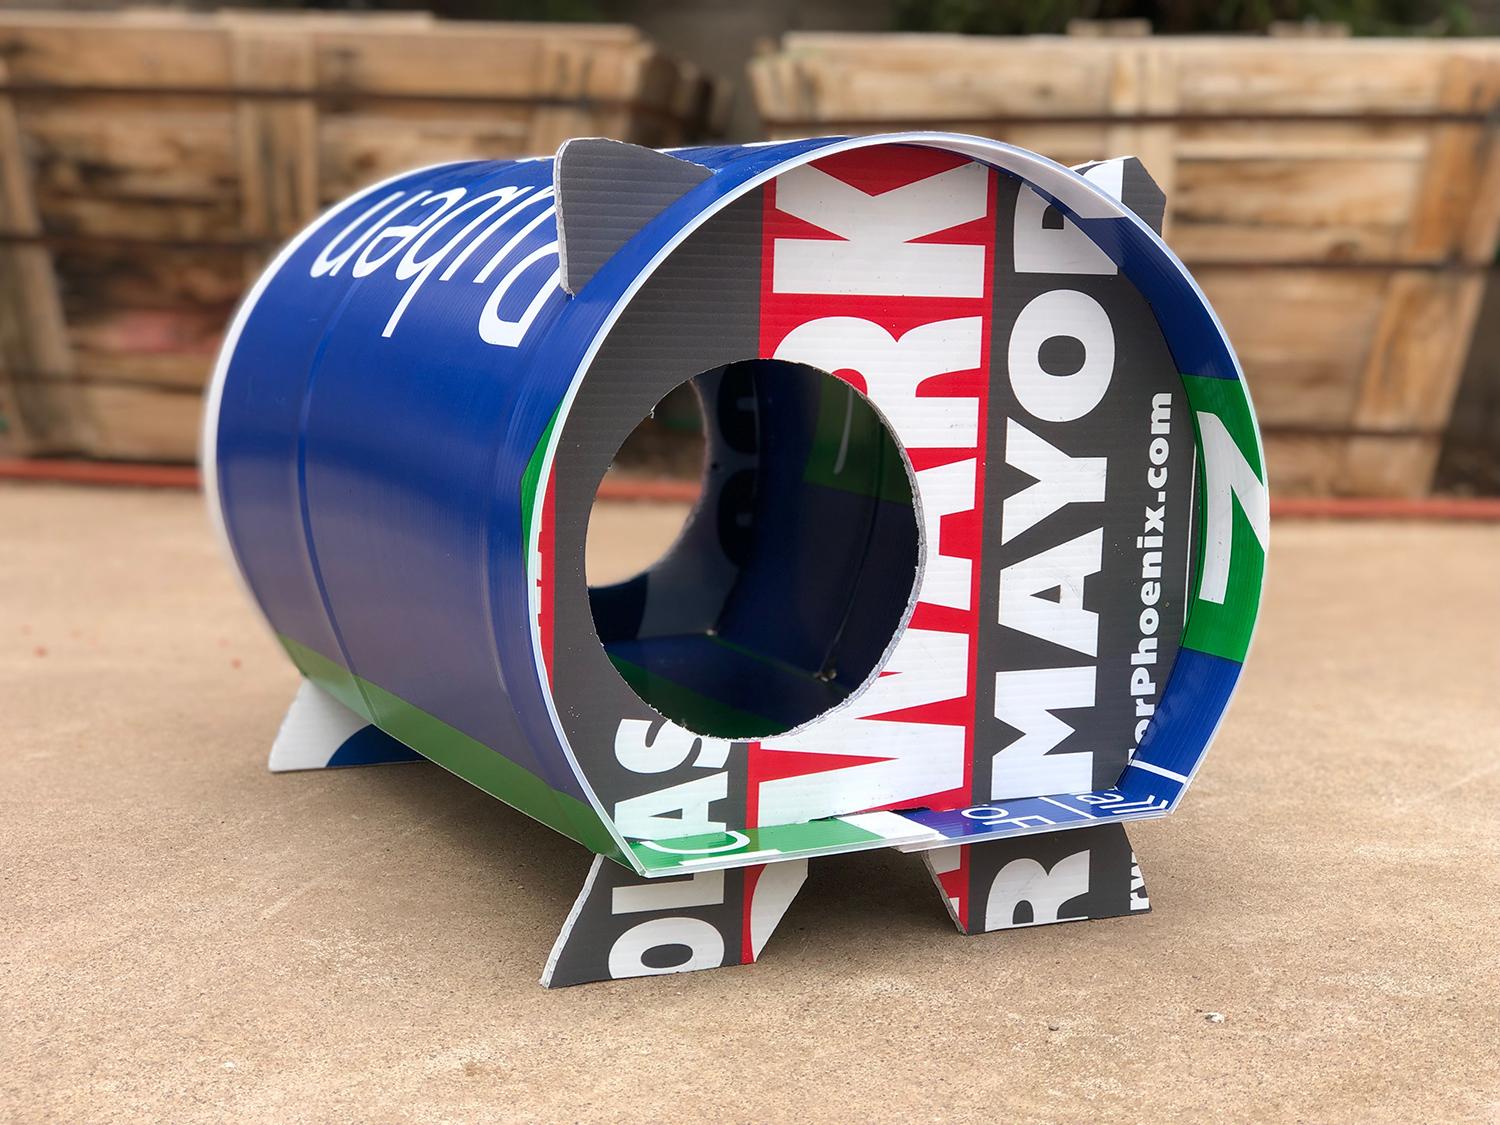
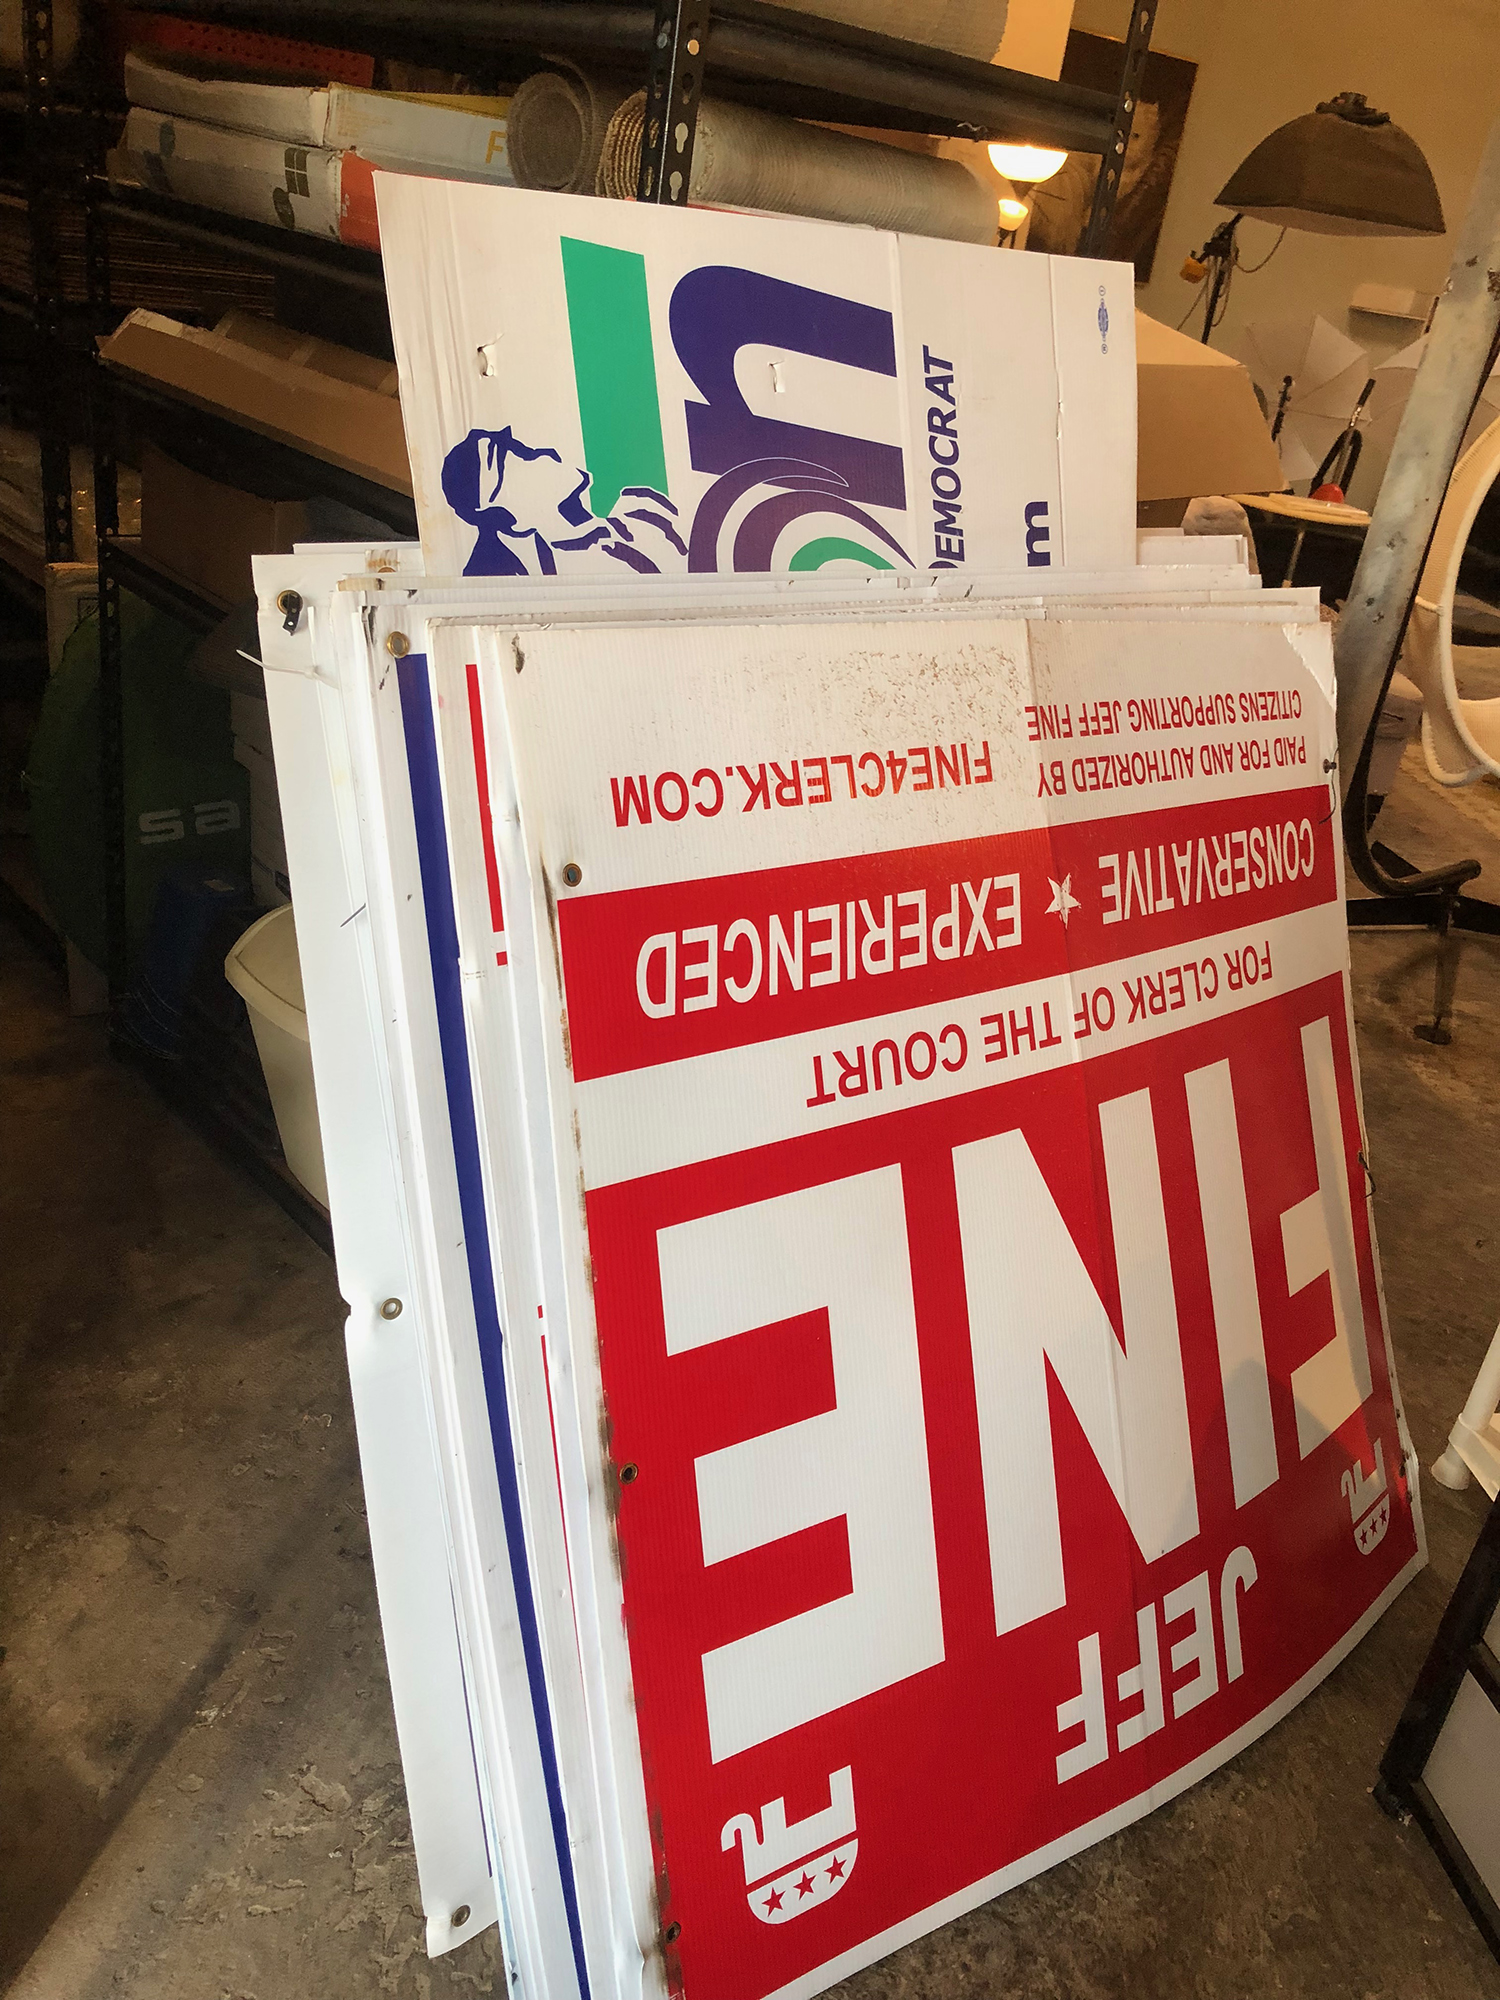
When campaign season ended last fall, my husband, Mark, and I ran all over town collecting old campaign signs so we could try making some Corokitty feral cat shelters. I found the instructions a while ago but never got around to making any myself. I hate seeing all those signs go to waste, so I figured why not try!
Corokitty is a project created by Chris Peterson. He came up with several plans for building inexpensive shelters for community cats and he shares the instructions online for free at corokitty.wordpress.com. The shelter designs use Coroplast, the plastic material that most outdoor signs — like campaign signs — are made from. It’s lightweight but sturdy and, best of all, it’s relatively weather proof. Some of Chris’ designs also incorporate plywood, but we decided to make the design that is entirely Coroplast.
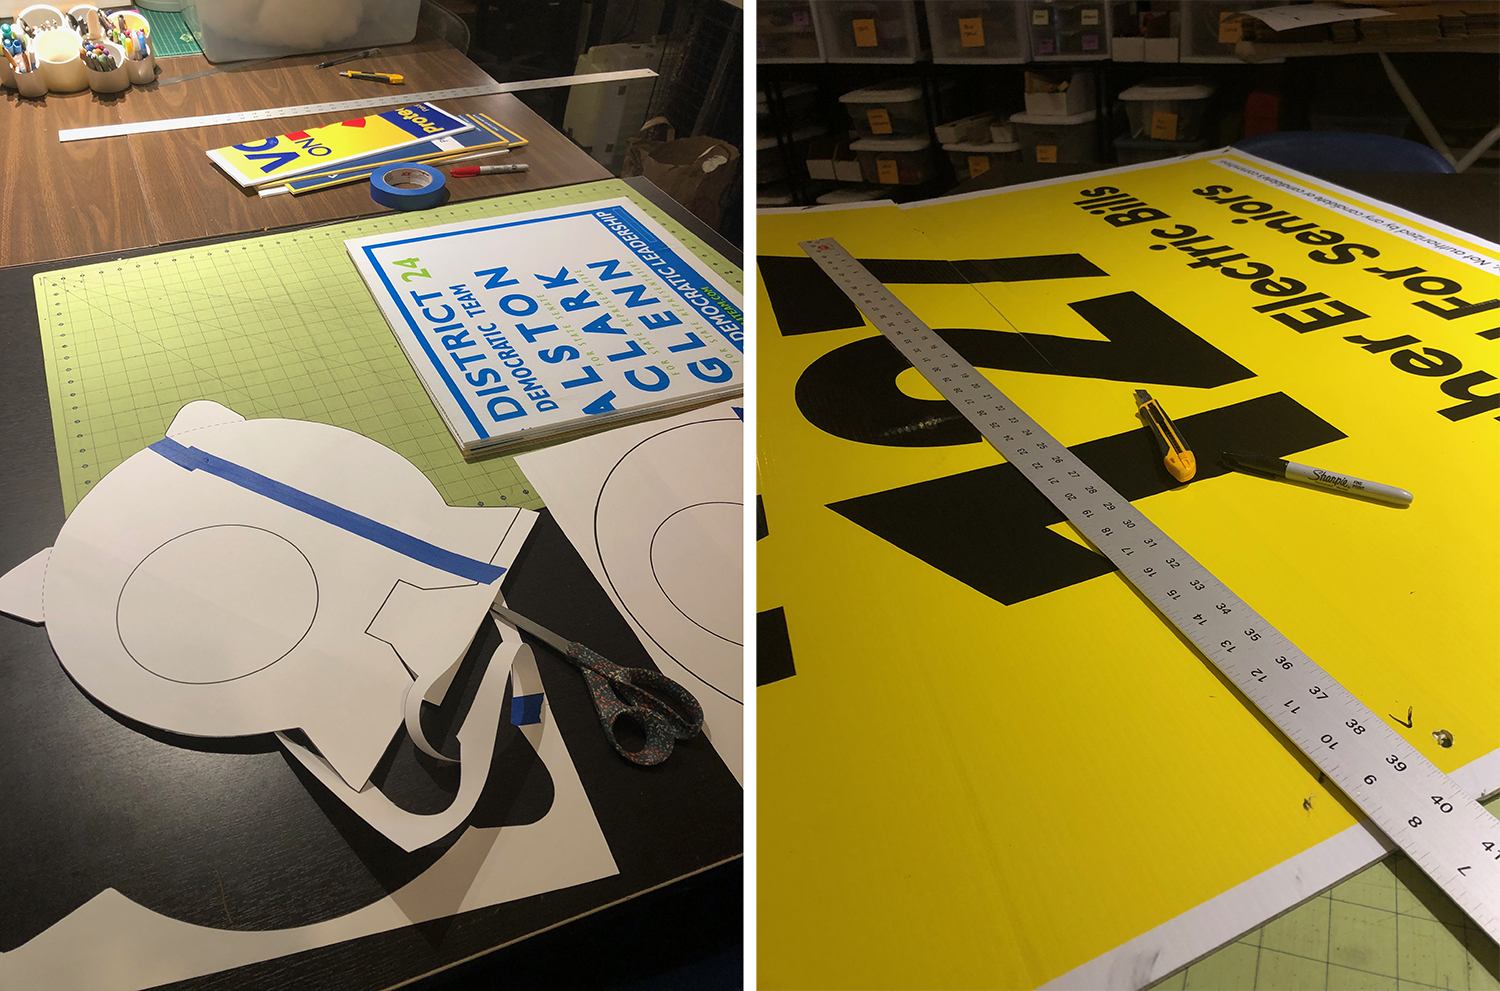
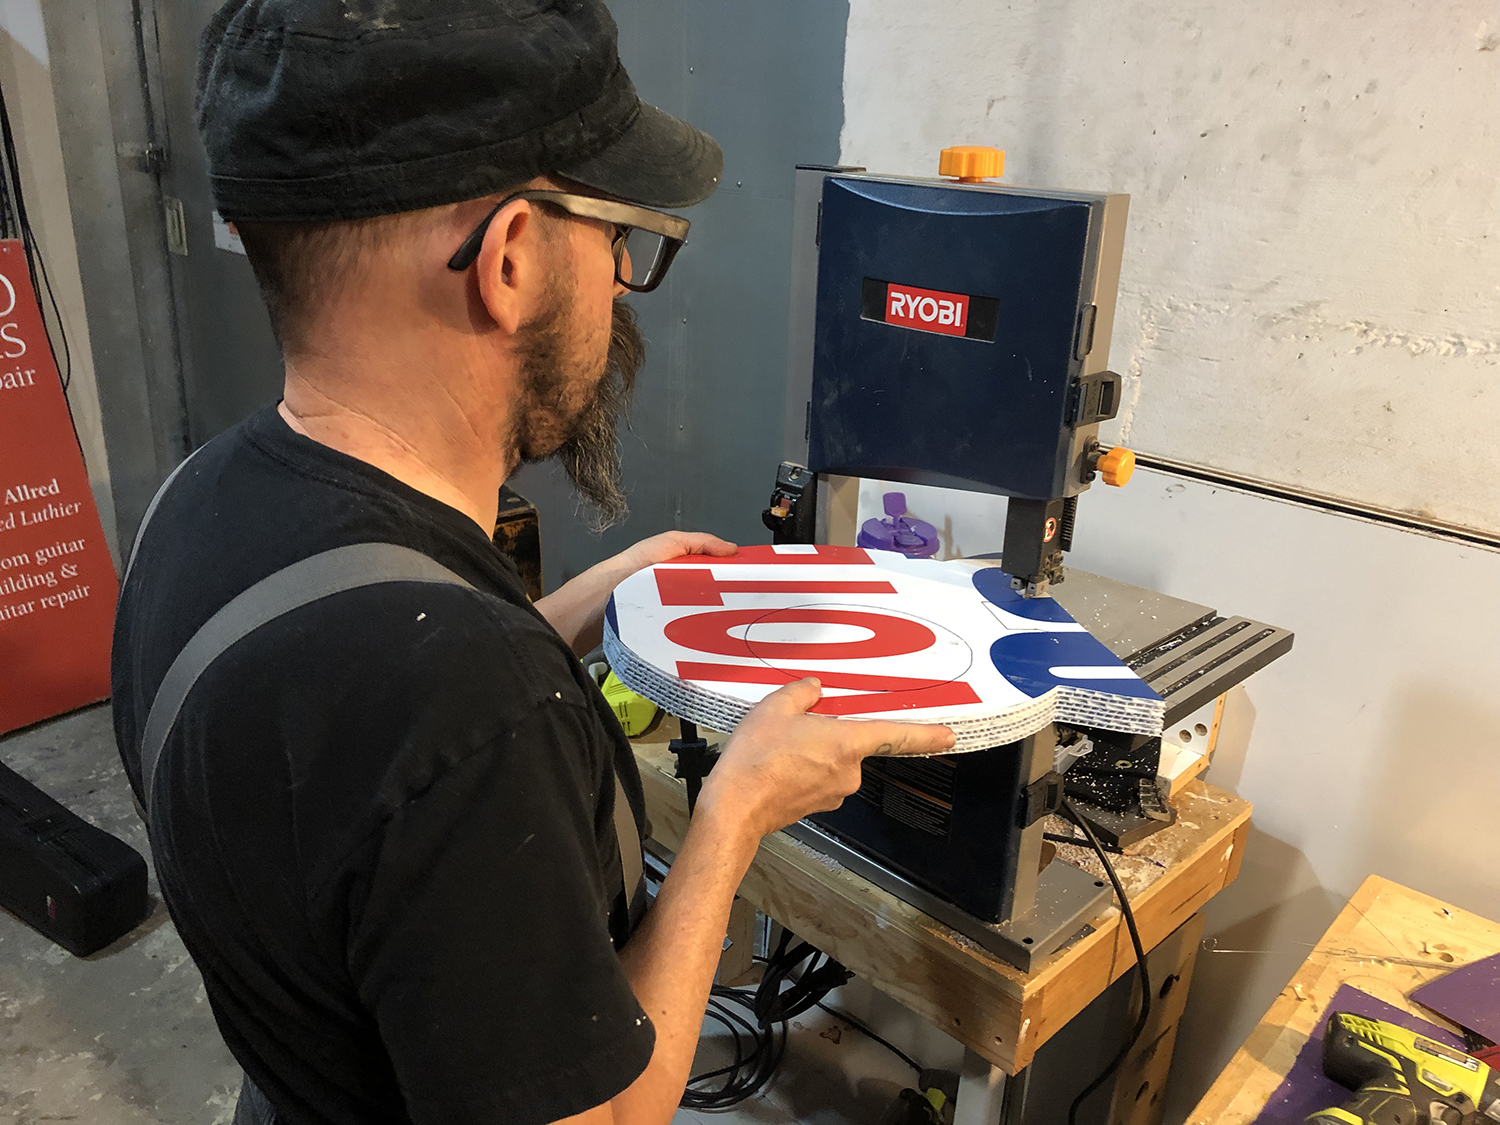
It’s pretty simple, you can download the template from corokitty.wordpress.com. I printed it out on paper at full scale (making the entrances a little bigger and adding an ear tip) and cut it out so Mark could trace it and make the end pieces using a bandsaw and jigsaw. Luckily he has a whole workshop full of tools for his guitar repair business, which I often wrangle him into using for catification projects!
For the piece that wraps around the outside you need a utility knife, a straight edge and a surface to cut on. It just takes a little measuring, but if you follow Chris’ template carefully it should all fit. The hardest part is wrapping the outer piece around and fitting it all together. We found that using a heat gun to warm up the outer piece while you are assembling the whole thing helps to make it bend a little easier.
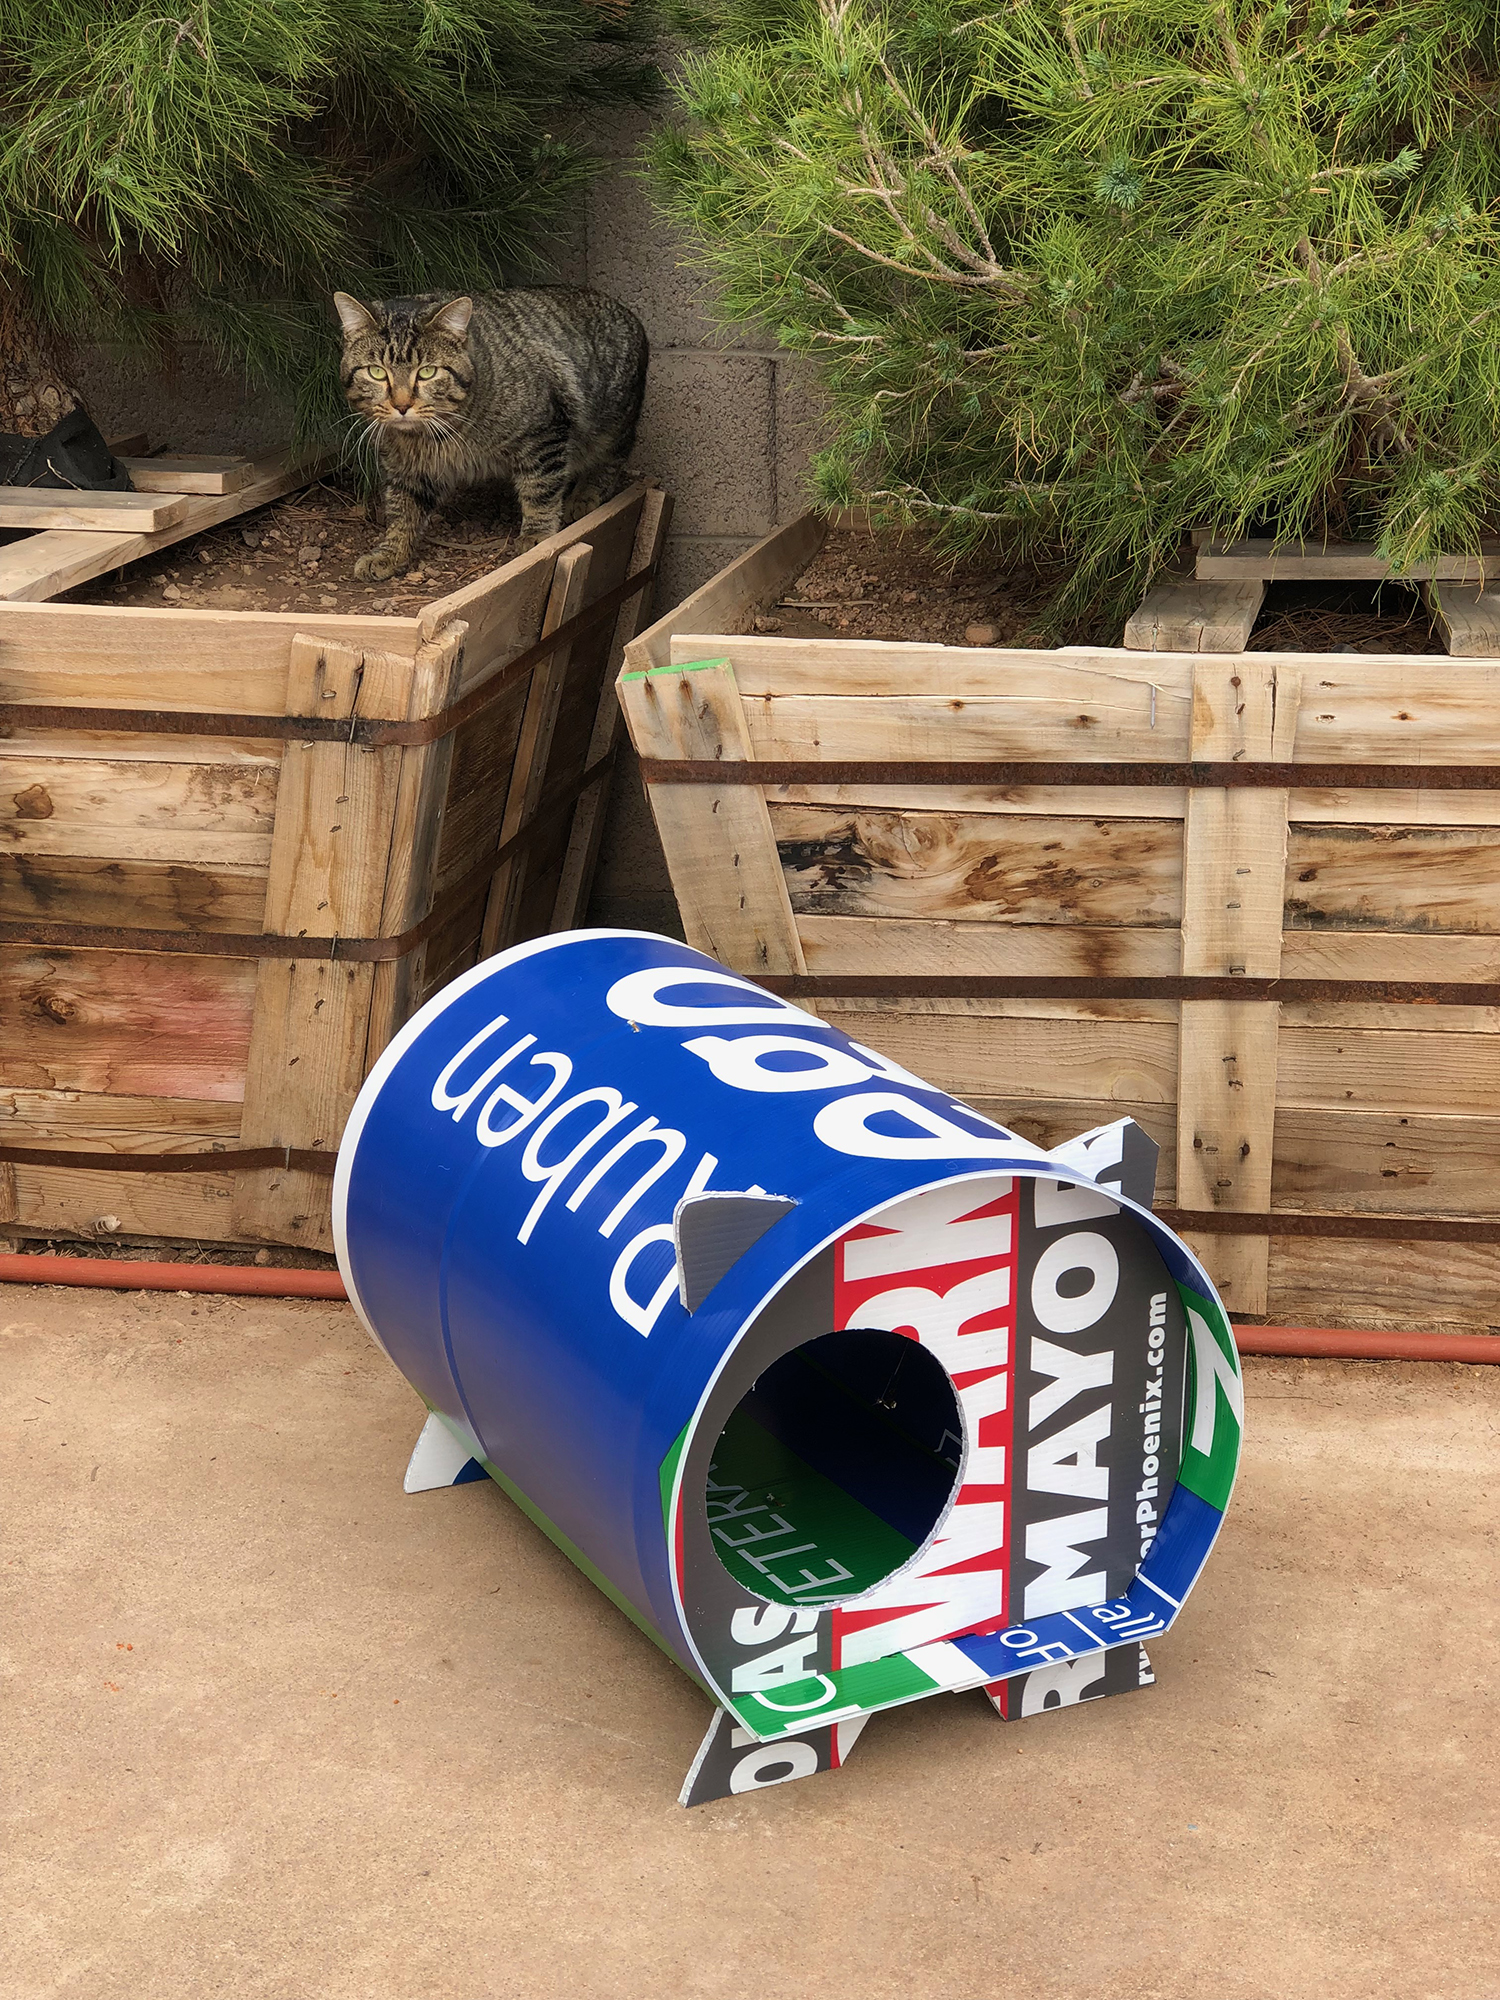
Here’s a feral friend over at Arcadia Color Garden Nursery checking out his new house. I’ll report back on how much use the shelter is getting!


That’s amazing! There are still some campaign posters around town, and this would be the perfect thing to do with them.
What an amazing idea that not only protects and shelters the cats, but also recycles/repurposes signs that might otherwise be trashed! Sharing widely, with gratitude and admiration!
What an amazing project and so good for kitties! 😺😸😹😻
Super idea, but I can’t find the template to use for these. Are you able to help me with that? Thanks, from Saskatoon, SK, Canada
Can you share the template for these Coroktty shelters
Any availability presently (Aug 2023) of complete kits for purchase?